Getting Started
Use Recall with Cursor
Pair Recall with Cursor so specs and notes move straight from chat into your editor.
Need help?
Email us anytime at support@recallnotes.io and we’ll help you get set up.
Prerequisites
- Cursor desktop app
Step-by-step
Set up Cursor
-
1) Open the MCP settings
In Cursor, click the settings gear in the top right, then choose Tools & MCP.
-
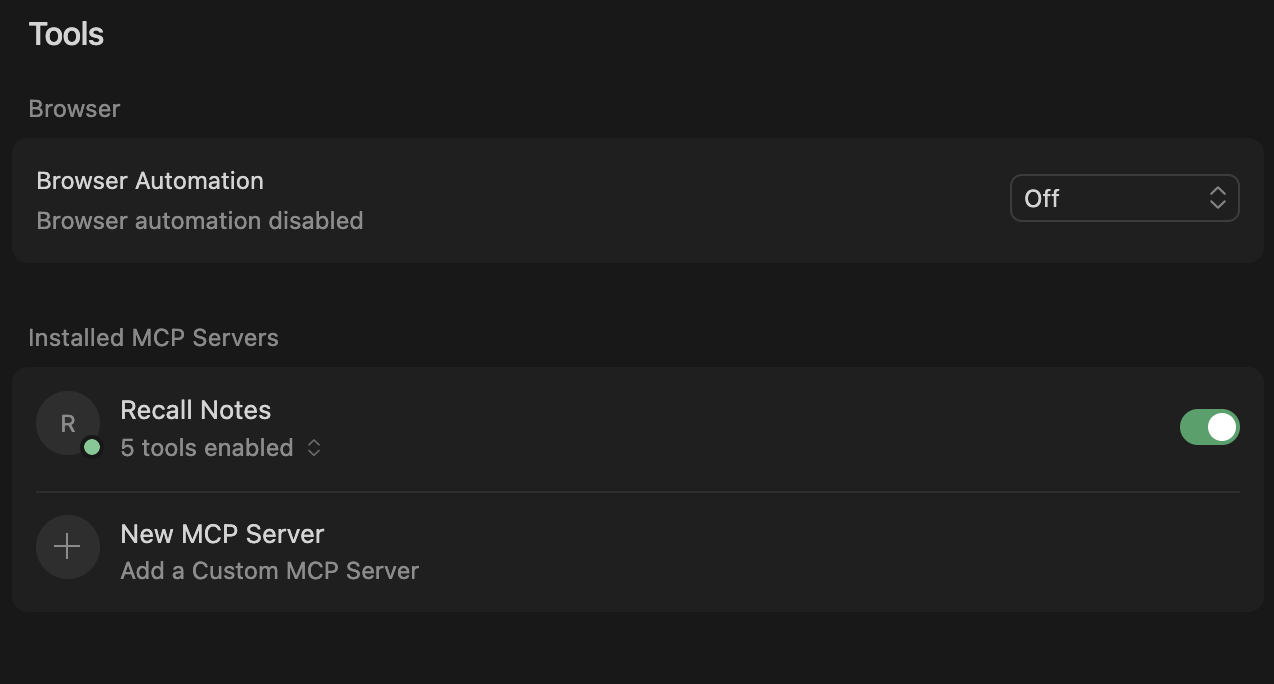
2) Add the Recall server
Click New MCP Server and paste this into
mcp.json:{ "mcpServers": { "Recall Notes": { "url": "https://mcp.recallnotes.io/mcp" } } }Save the file when you’re done.
-
3) Authenticate Recall
Back in settings, find Recall Notes and click Connect. Log into Recall in the browser, then return to Cursor. The “Needs authentication” badge disappears once it’s connected.
What to expect after setup
- Recall Notes shows under MCP servers in Cursor.
- You can pull Recall notes directly into the editor using Cursor’s tool responses.
Testing
In a new conversation, try:
- “Save this spec to Recall.”
- “Search Recall for design tokens.”
- “Fetch my Recall note about onboarding.”
You should see Cursor call Recall and return the note or confirmation.
Troubleshooting
Server unreachable
- Open
https://mcp.recallnotes.io/mcpin a browser to confirm it loads.
OAuth not triggering
- Look for a blocked pop-up window and allow it.
- Click Connect again after closing extra Recall login tabs.
Still stuck? Contact us: support@recallnotes.io
Next steps